FAQs
Register/Create an Account
Create an account in Outvise and get full access to professional offers and our community of experts.
-
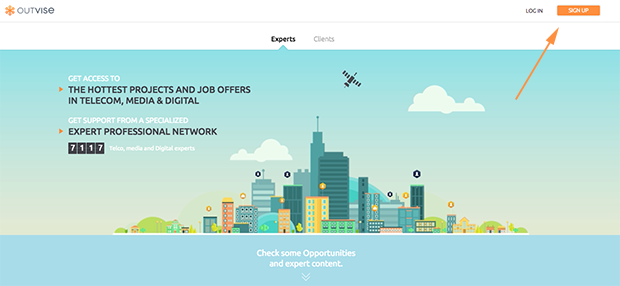
Go to Outvise and click on the "Sign Up" button located on the top right corner of the main page.
-
Fill out the Complete your Personal Data form (including your name, email and desired password) and agree to our Terms of Service.
-
Go to your email inbox to retrieve our validation email and click on the link to Activate your Account.
-
You are all set, now it's time to add your CV & Select your Skill Universe.
Onboarding: Add your CV & Language Proficiency
Adding your CV and selecting your Skill Family is key to getting the most relevant job offers in our system.
-
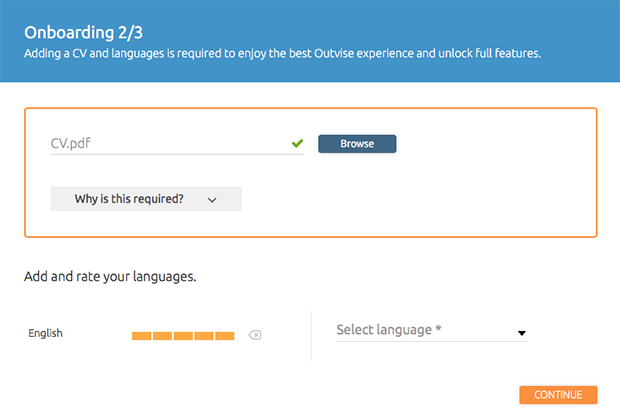
After you've registered and activated your account, you will arrive at our Onboarding page where you will be able to add your CV and select the languages you speak.
-
To add your CV, click on the Browse button and upload your updated CV in PDF format.
-
Add The Language/s You Speak and Your Proficiency Level.
-
Select a Language from the drop-down menu.
-
The language will be added, and you can rate your proficiency by clicking on the bar next to it.
-
Once you're done, Click Continue
Onboarding: Select your Skill Universe
Configuring your Skill Family is key in helping us provide you with the most relevant opportunities in our system. Make sure you don't leave any skill out.
-
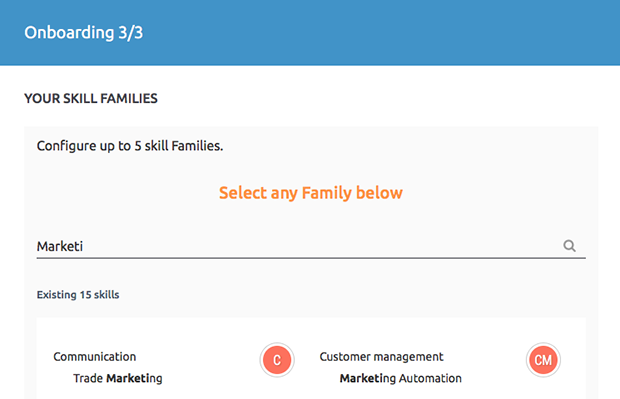
Once you've added your CV and languages during the Onboarding process, you will be directed to a page where you will be able to select "Your Skill Families".
-
You have two options to add your skills: Search for them or choose one of the options we included and modify them to fit your profile.
-
To search, simply enter a keyword in our Search your skill bar.
-
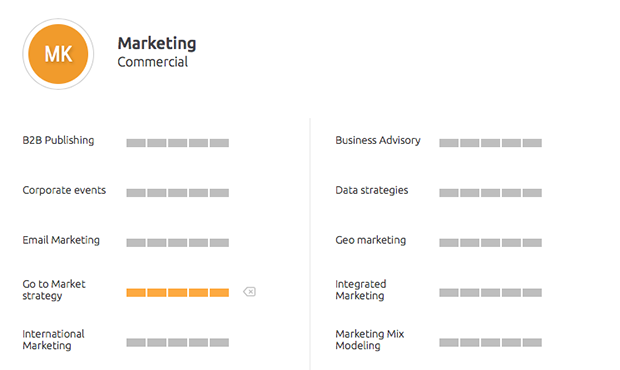
To use one of our pre-made families, click on one of the circles and rate your proficiency in each of the skills listed within.
-
For example, if you choose Business Intelligence from our list, a page will open showing a list of various skills within that bracket, such as Big Data, Business Intelligence, ETS, etc. If you don't see a particular skill listed, you can also Add one on the bottom right side of the page.
-
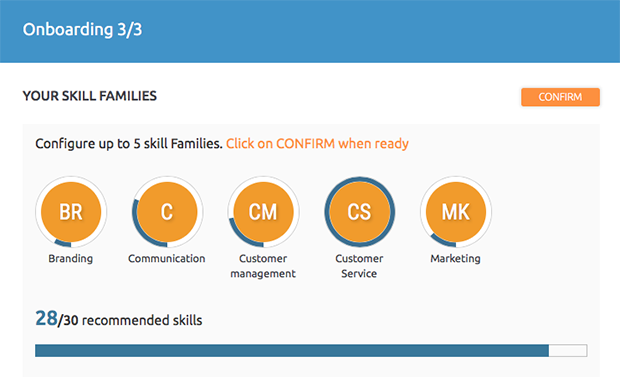
You can configure up to 5 skill families, and we recommend you add as many as you can.
-
When you have your skill families ready, click Confirm to be directed to your Main Page where you will find the "My Opportunities" and "My Hub" windows.
My Opportunities
-
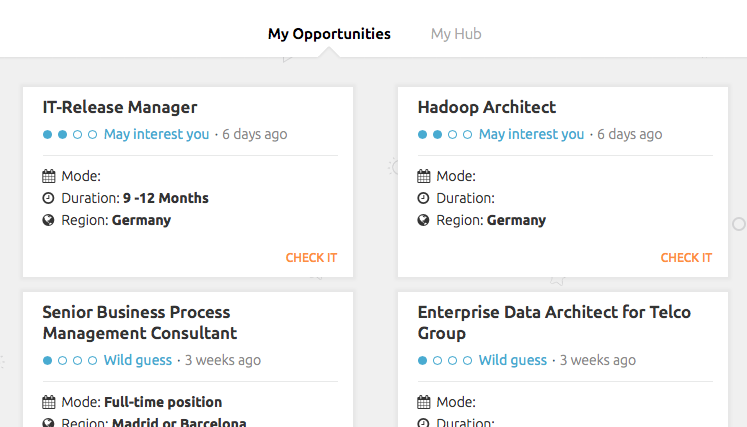
On the "My Opportunities" area, you will find all the job offers that match to your skills.
-
From there, you will be able to review the offer and apply (include link to How to Apply)
-
To apply to an offer, click on the “Check it” button to explore the opportunity.
-
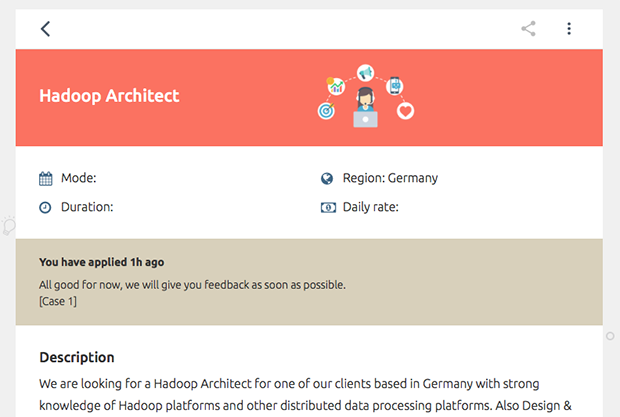
Once you have read the description, click on the apply button if you would like to apply to this opportunity.
-
Now, the offer will appear in green on your Opportunities page. When you open it, you will see a beige box showing the date when you applied and the status of your application. It will also show an alarm if you are required to provide more information or answer questions –you will also receive an email when any action from your side is required or anything relevant happens to your application.
-
Your application will go through four different stages:
-
Applied –you just sent your application. Be sure to answer all the key questions, in order to maximize your possibilities.
-
Shortlisted –you passed the first cut
-
Proposed –your application is being examined by the company
-
Accepted – you got it!
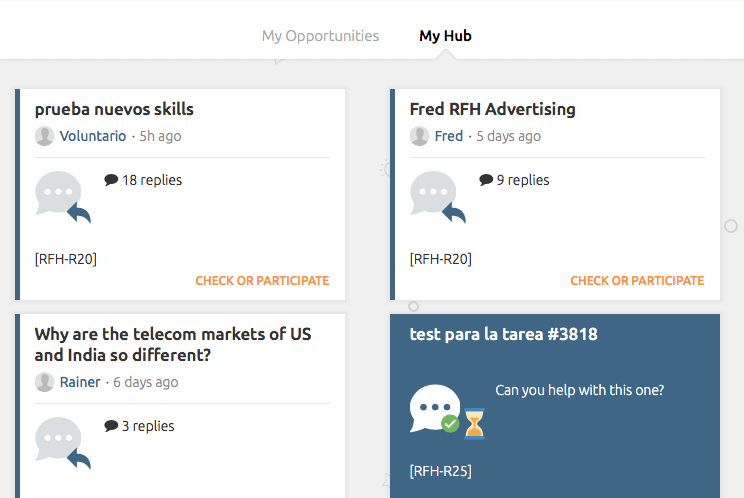
My Hub
-
"My Hub" is where you will find threads created by other users that have asked questions related to your skills.
-
You can either respond to requests or even send a Request for Help in case you need to consult something in your field with someone else from the industry (Learn more about Request for Help).
-
Also, you can share requests on your social media, and like, share, comment or report as inappropiate any of the answers.
Request for Help
Request for Help is one of the most important features available on the Outvise platform. It aims to allow for collaboration with other experts from your industry and also a way for you to share your knowledge and become an important source within the Outvise community.
-
To use Request for Help, go to My Hub and click on the dialogue balloon on the lower right corner. You will be able to tag keywords related to your question so that it can reach the right experts.

-
If someone asks a question that fits your skills, on My Hub you will also see these questions with the option to respond to them.
-
If you like an answer, you may click on the heart located on the lower right corner of the post. The answer with more “likes” becomes the “Best Reply” and will appear at the top of the list.
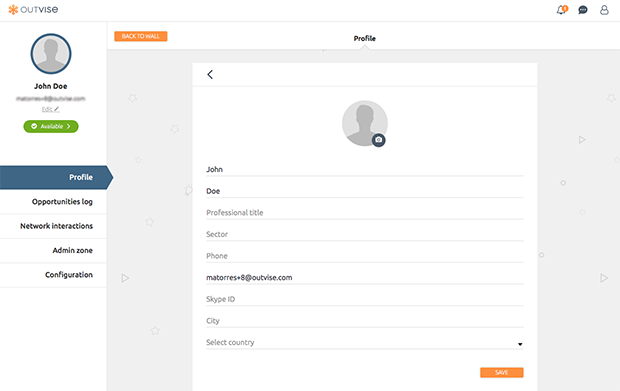
Edit your profile
- Click on your profile picture in the left bar to open the profile edition page.
- In the profile edition page you will be able to add or change your personal information. To change your profile picture, click on the photo circle in the top of the page and browse images from your computer.
Availability – How do I change my availability?
- You will find the availability status button in the left bar of the wall page.
- You can change your status from available to not available by clicking on the button appearing on top of the availability calendar. You can also set the date from which you will be available for new opportunities.
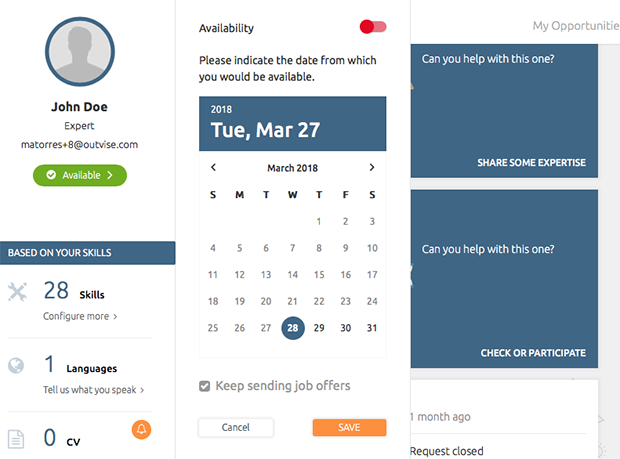
- This information is relevant as it allows us to offer you the most relevant opportunities when you want to receive them.
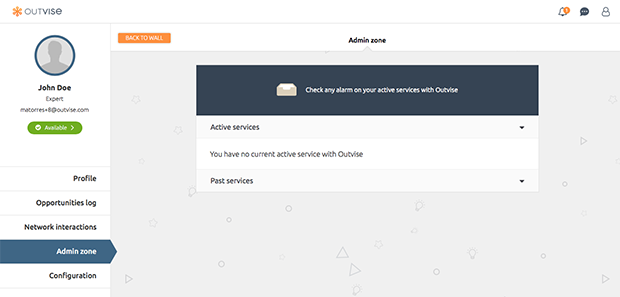
Admin Zone
- In the Admin Zone, you can manage the different active and past services you have engaged with Outvise. You will be able to see the invoices and any related document issued for those services.